6 Ways to Stay Organized with Distance Learning
Organization is KEY to pretty much everything in my life. Being organized helps my mental health, saves me time, and makes me feel like I have things under control (even though I probably don’t).
I know how important it is to have an organized classroom so things run smoothly but when we abruptly switched over to distance learning in the Spring, everything I knew about being an organized classroom teacher was thrown out the window as I grappled to figure out new ways to stay organized for a virtual classroom.
Below I am sharing five tips that helped me stay organized and productive during distance learning.
1. Organize your Digital Files DAILY
Yep…you read that right. Organize your online files daily. You do not want to end up with mounds of digital files sprinkled across your desktop, downloads folder, and Google Drive. Trust me, I had to learn this one the hard way. It is so much easier to manage your files when you “put them away” each day.
Speaking of organizing your files, you can also organize your internet tabs and windows! If you’re constantly sharing your screen and/or doing screen recordings, this tip is a MUST! I am the type of person who has 3,000 tabs open at once…anyone else? Session Buddy is a Google Chrome Extension that can help you save tabs, windows, and bookmarks without the fear of closing out and losing everything.
2. On the Go Tech
I used quite a bit of technology to help me get through distance learning but the one thing I can’t live without is my iPad protected by the ProLOCK case from Rug-Ed. Being a teacher mom, I wasn’t always able to work directly in front of a computer screen. I needed the ability to work “on the go” aka while sitting in the tiny house in my daughters playroom.
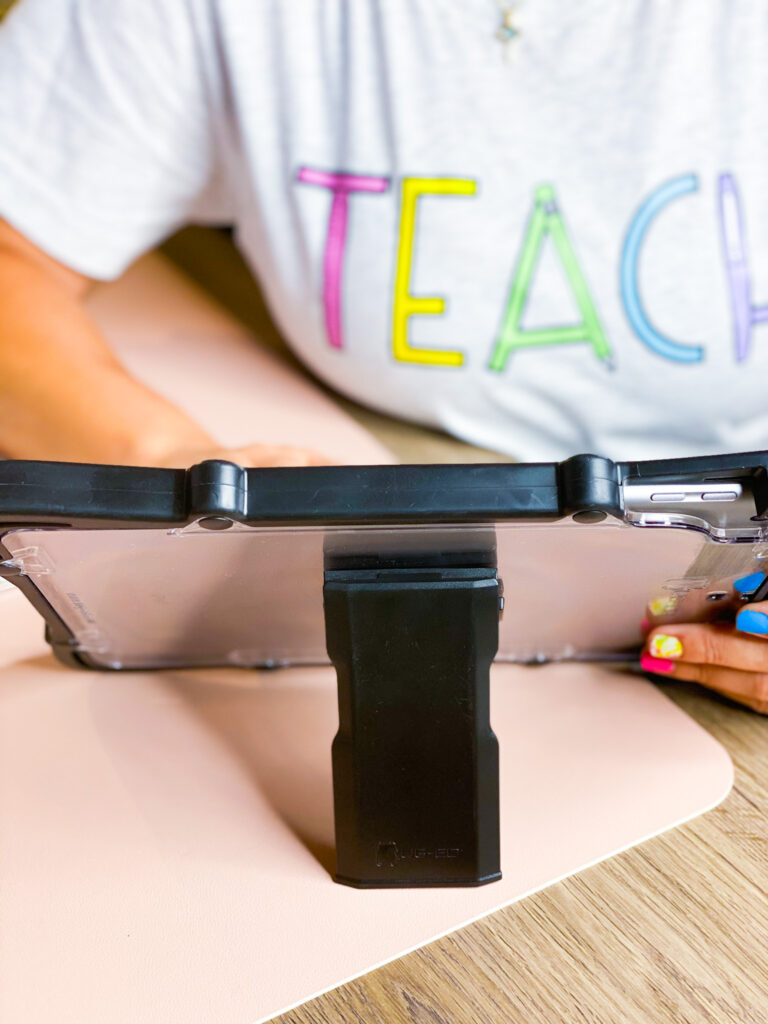
No, I didn’t do all my work from there but it was very helpful to just grab my iPad to check assignments, read and respond to emails, and check in with students. My ProLOCK case from Rug-Ed let me do all these things without any fear of damaging the iPad. Remember, I was working around a toddler!
The Rug-Ed ProLOCK case is lightweight but sturdy, has a handle for easy transport (by me and my toddler), tempered glass screen shield to protect against all those accidental drops, and a kickstand which allows me to work efficiently from an iPad. It comes in different sizes for all the iPad models. There are also color options available for some of the newer iPad models including the iPad 7th Gen 10.2” (2019), iPad Air 3 10.5” (2019), and iPad Pro 10.5 (2017). I have the Matte Black which I love but they also have Blue, Green, Orange, Purple, and Yellow so there is a case for everyone!
Take a closer look at the features below.
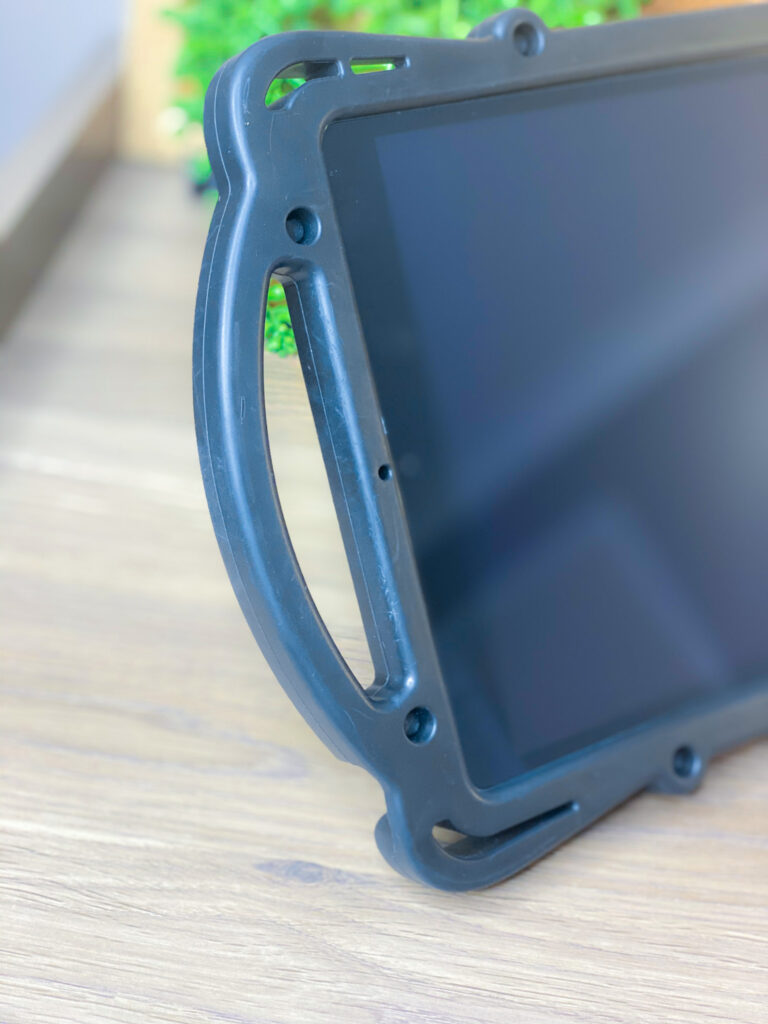
The carrying handle allows for easy transport. 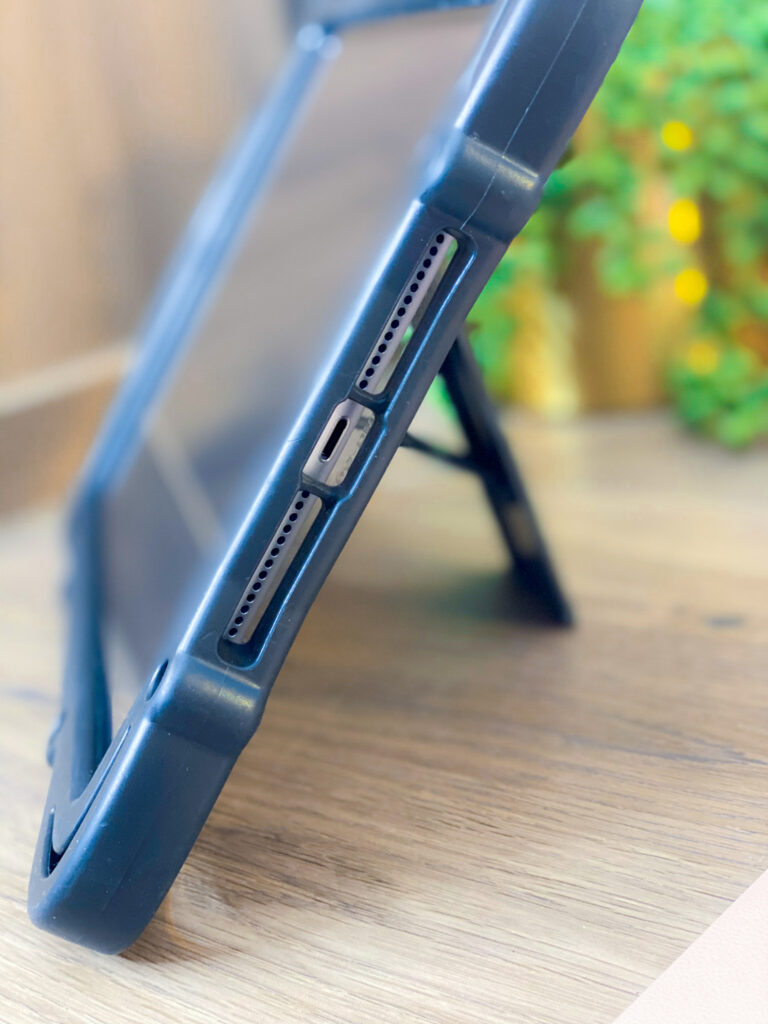
Thin and lightweight case with easy access to charging and headphone ports. 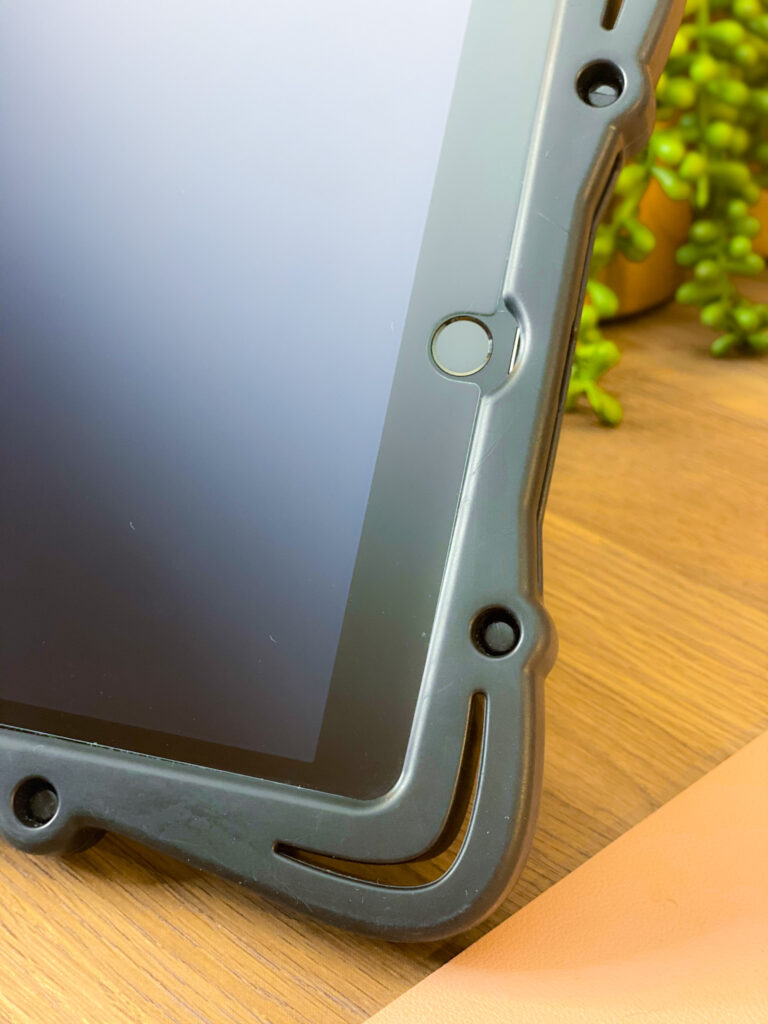
Includes a tempered glass screen protector. 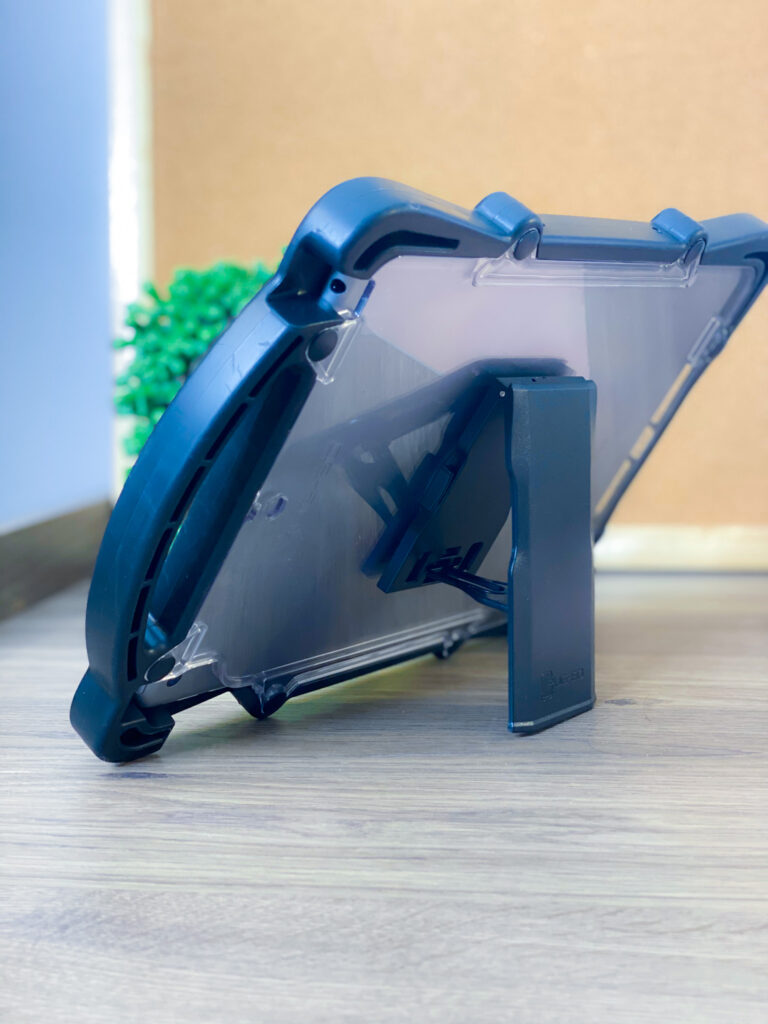
Detachable kickstand that is easy to open and close.
3. Create a “Home Base”
The first thing I did when we went virtual was to create a central location that housed all the things. I chose to create a Google Site (which was super easy, btw!) that served as my “home base” for my classroom. My site housed all my contact information, links to important websites and weekly lesson plans, enrichment activities, live teaching schedule, and my favorite- our read aloud corner.
I know my parents really liked having a central place where they could go for information and announcements, important links, and easy access to some of the learning platforms we were using. If you’re interested in creating a Google Site but don’t know where to start, check out this video.
4. Checklists, Checklists and More Checklists!
Checklists are my jam! I love checklists and make them for pretty much everything. In the Spring, I was using Class Dojo to assign activities but I needed an easy and organized way to keep track of assignment completion.
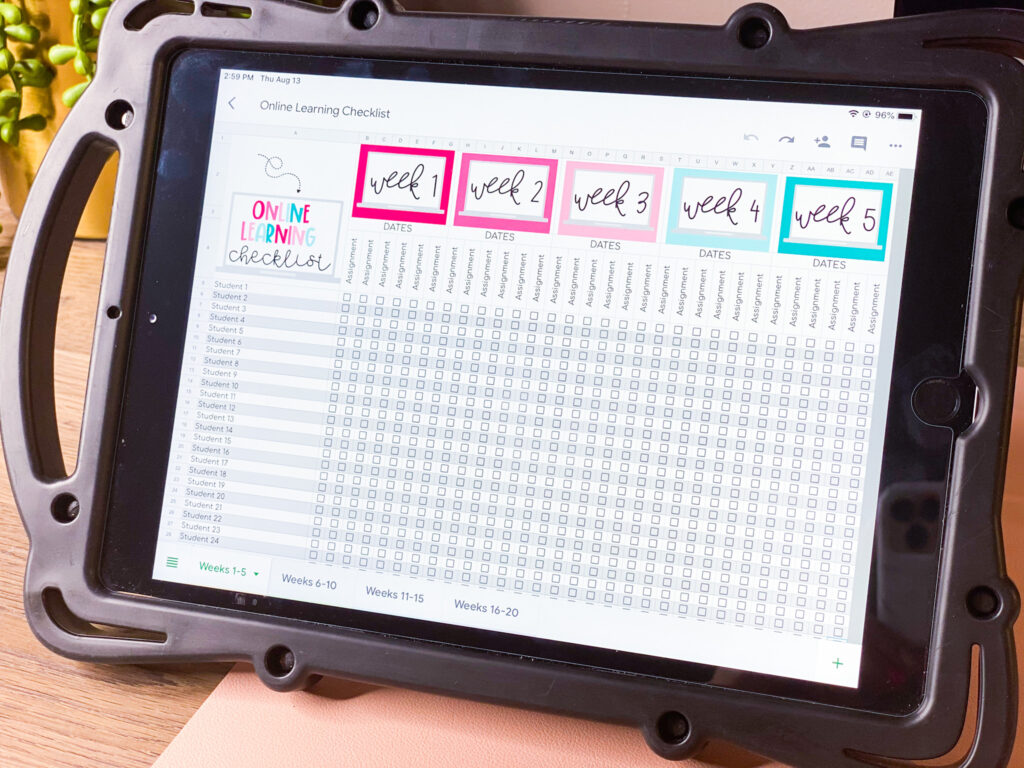
I created this checklist on Google Sheets that I could use to track my students’ assignments. This was a huge help in keeping me organized! I would sit down at the end of each day and check off what had been submitted. This way I would know which student was missing what, just by glancing at my checklist. You can grab this checklist to help you keep track of assignments for FREE by clicking below.
5. Schedule your Emails
Did you know you can schedule your emails in Gmail?! It is so simple to do and a complete time saver. I did most of my planning on Sunday afternoons. This is when I would sit down, complete our assignment schedule for the week, update my home base (Google Site), and draft my emails for the week.
You can simply do this by clicking the dropdown arrow next to send and clicking schedule send. Here is where you can pick the date and time for the email to send. Don’t worry if you need to change/add info to the email before it goes out to your family because you can still edit it!
Using Outlook? Click here to find out how to schedule emails in Outlook.
6. Give Yourself Grace
I saved the most important tip for last. Please give yourself grace. Most of us did not sign up to be online teachers (or wouldn’t have chosen to do this if the circumstances were different) and so much of teaching virtually is new. Home life and work life lines are easily blurred and we haven’t yet taken a course or read a book on how successfully teach through a computer.
Remember to take time for yourself and indulge in self-care. Get off your computer, get some fresh air, participate in something that you truly enjoy and know that you are doing the best you can do and that is more than enough!
I hope you found these tips helpful and can take something away to help you get more organized with distance learning!
Additional Reading
If you’d like to find more tips, tricks and ideas about distance learning, check out these blog posts:
- Distance Learning Guide for Primary Teachers
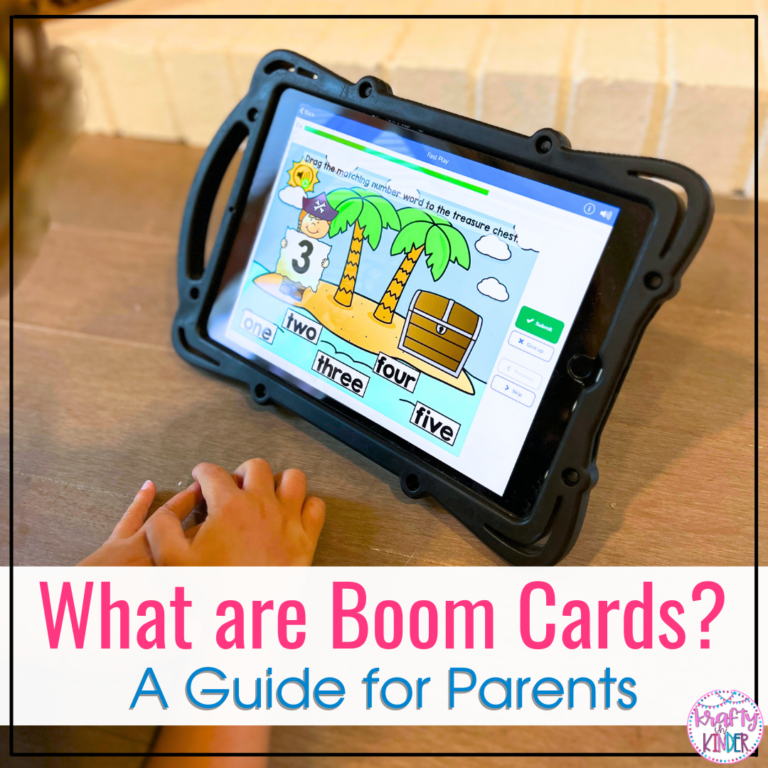
- Boom Cards: The Distance Learning Game Changer
- 3 Ways to Safely Share YouTube Videos