3 Ways to Share YouTube Videos Safely
Are you looking for ways to safely share YouTube videos with your students? Then you’ve come to the right post. I use YouTube a lot. When I’m teaching in the classroom, I often use songs and videos that I find on YouTube to help me introduce or teach a concept/skill. In the classroom, I can easily pull YouTube up on my computer and play the video for my students as I monitor the ads and duration. But that can’t easily happen during distance learning when I am using YouTube videos in my lessons and my students are watching them on their own.
In this blog post, I will share 3 ways to safely share YouTube videos with your students.
1. Safe YouTube
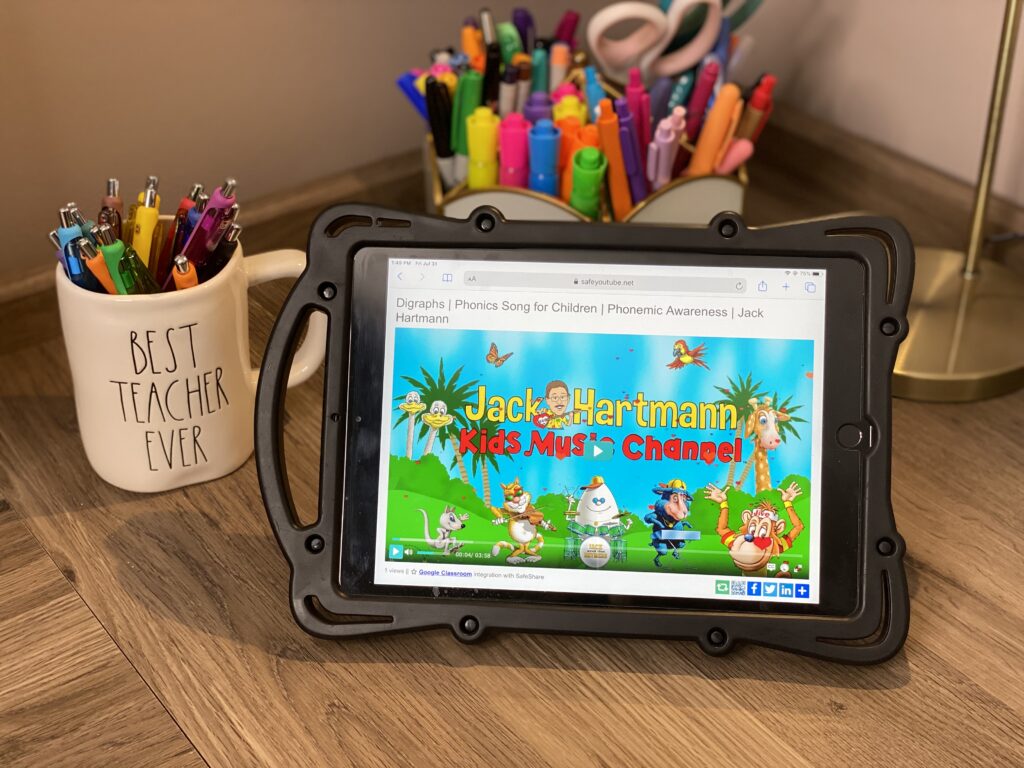
This is the first site I stumbled upon in my quest to find a solution to the problem and I think it’s my favorite. Their website, www.safeyoutube.net, is to the point, easy to use, and requires no sign-up/account. Just find the video you want to use on YouTube, copy the URL from YouTube and paste it on Safe YouTube’s site. Click generate link and you’re done! From there you can copy the Safe URL or HTML to share or embed as well as change the video title, duration, and more! Oh, and it’s completely FREE! Because there is no account needed to use, they do not save a record of the videos you have added. Curious to see what it will look like on the students’ end?
2. SafeShare.TV
This website, safeshare.tv, requires you to create an account. They have a free plan you may use but also offer paid versions. Once you sign up and create an account, you do the similar steps as above. Find the YouTube video you want to share, copy the URL and paste it on SafeShare.TV’s website. You will be able to change the title and edit the start/end times. Then you can copy and paste your new safe url to whichever platform you are using it in! Want to see how this platform looks on the students end? Click HERE to view a video that I uploaded to SafeShare.TV. The biggest difference between SafeShare.TV and Safe YouTube is the account. SafeShare.TV will save the videos the you add to it so you can access them again and again, while Safe YouTube will not save a record of your videos. With SafeShare.TV you get 20 videos.
3. Unlisted and Embedded
Are you creating your own videos and uploading them on YouTube to share with your students? If so, this approach will provide some level of privacy and protection. By setting your video to “unlisted” when it’s uploaded, no one will be able to find it through a YouTube search and it won’t be displayed on your channel/playlists. The only way to find or access an unlisted video is through a URL. Then if you use the embed code to share your video on a separate, private site, only those who have access to the site will see it. Additionally, they will only see the video and none of the usual “clutter” that surrounds a typical YouTube video.
However, there are still some downsides to this approach. First, it’s not 100% private since viewers could click on the embedded link at the top of the video, go directly to YouTube, and they could get the link and share it with others. Secondly, suggested videos will pop up at the end so it’s not completely distraction free.
I hope you found this informational helpful in finding different ways to safely share YouTube videos with your students! Looking for more distance learning tips? Click here to read how I navigated remote learning in First Grade. Have a comment or questions? Click REPLY below and let me know!