How to Introduce Digraphs in the Primary Classroom
If you teach in the primary grades, you know that pure magic happens when students start to crack the code of reading. It’s one of my favorite things about teaching! But, before we get there, one of the key steps in that journey is mastering a variety of tricky phonics skills, such as digraphs. But don’t worry, friend, with just a few whole-group strategies and engaging follow-up activities, you can help your students build a strong foundation from day one! Let’s learn how to introduce digraphs and set your students up for success.
My Foolproof Method for Introducing Digraphs
Learning about digraphs, those tricky two-letter combinations that make a single sound, can feel overwhelming to young students. Suddenly, the letters that they know to make a single sound, make a different one together?! I know, I know. But, over the years, I’ve learned a thing or two about introducing digraphs in a way that’s not only simple, but fun for students too! Let’s walk through exactly how to get started with digraphs in a way that’s clear, fun, and developmentally appropriate.
But First, What are Digraphs?
Before we dive into the information on introducing digraphs, let’s clarify what I mean by digraphs. A digraph is a combination of two letters that come together to make a single sound. For example:
- sh as in ship
- ch as in chick
- th as in thumb
- ck as in duck
These can feel confusing for early readers because the letters don’t make the same sounds they have learned in isolation. That’s why direct instruction and repeated exposure are so important when introducing digraphs! But don’t worry because we’re gonna cover this in depth! Let’s dive in!
Introduce Digraphs One at a Time
First things first, take it slow when you start to introduce digraphs! Instead of introducing multiple digraphs at once, zero in on one sound at a time. This will help to build a solid foundation without overwhelming your learners. I like to spend 2–3 days on each digraph, introducing it in a whole group format, practicing it in centers, and reviewing it in small groups. Slow and steady wins the race!
Need examples? You’ve got it! Let’s say you’re starting with sh. Here’s a step-by-step guide to introduce it effectively in a whole group setting:
1. Introduce Digraphs with Examples
Start with explicit modeling. Say something like. . . .“Today we’re going to learn about a sound two letters make when they come together—sh! Can you say that with me? Shhhh! That’s also the sound we make when we want things to be quiet.”
Giving an example of the sound in real life, like shhhhh when you want people to get quiet, is a great way to begin when introducing digraphs. This helps students connect the sound to meaning, and they’ll remember it later when they see it in print.
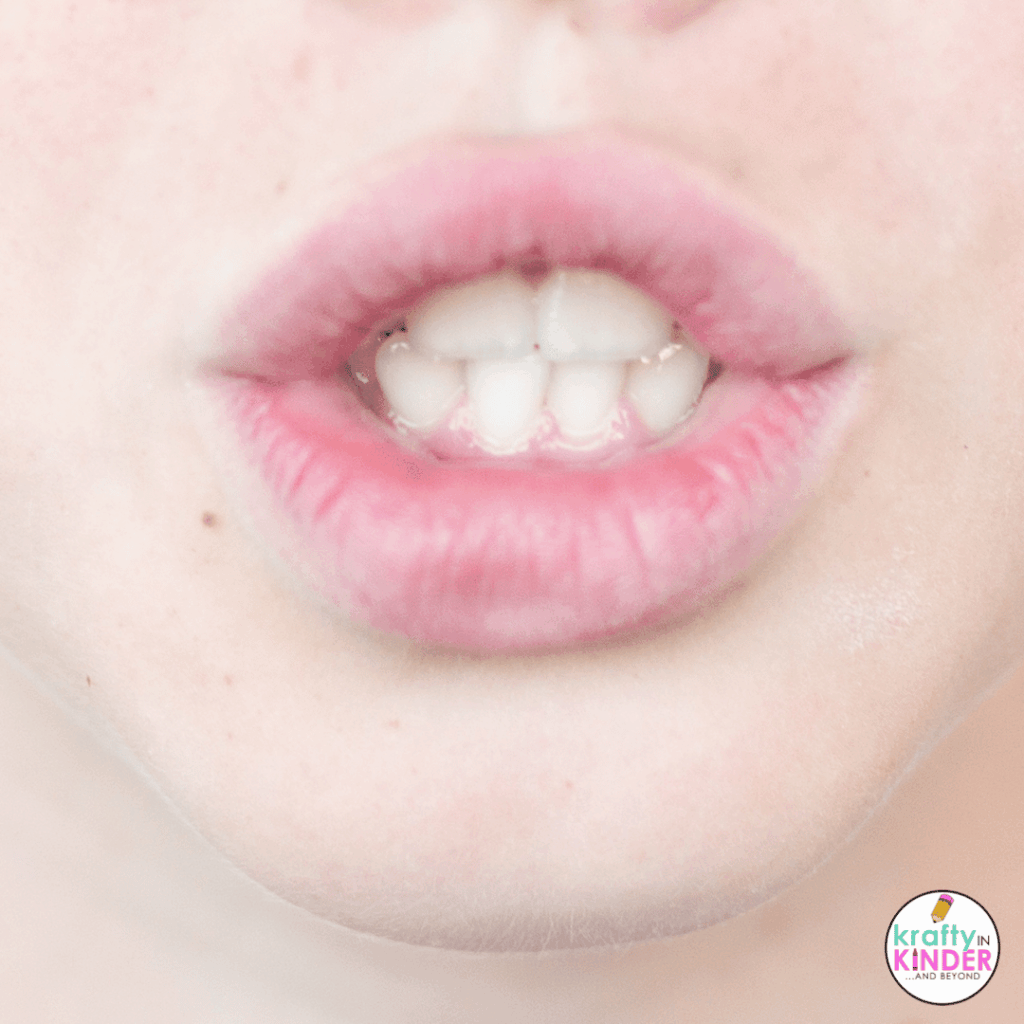
This would also be a great time to use mirrors and allow students to look at their mouths as they say the sound. They can also look to their left or right and observe a friend. Model the correct sound and mouth movement first, and then have them practice.
2. Isolate and Identify the Sound in Spoken Words

Next, say a few familiar words slowly, emphasizing the sh sound as you speak. For example, ship, shoe, shark, shell. You can write these words on chart paper as you say them and underline the sh. Ask your students something like, “Do you hear that ‘sh’ at the beginning of the word? Let’s say it together—shhhhhh-ip!”.
After you’ve written some words, consider adding pictures to turn your word list into a simple anchor chart that students can refer to later.
I also like to do a quick sorting activity here with some word cards that include pictures. I will hold up the word, say it aloud, and ask students to help me sort it into a group of “has the sh sound” or “doesn’t have the sh sound”.
3. Add a Multisensory Practice Component
After your initial introduction, consider having students work on building words using the digraph. I love to add a sensory component to this first practice activity to help the new sound stick! Some great options include sand trays, magnetic letters, playdough, shaving cream, or dry-erase markers. You can even set up stations with each of these options and have kids rotate through them as part of your literacy centers for the day.
Practice Activities to Introduce Digraphs
After your initial whole-group instruction sessions, it’s time to move on to practice! I am a big fan of using a variety of practice methods to keep things interesting. The more opportunities that students have to work with the sound, the closer we’re going to move towards fluency after all!
Small Group Practice
I love, love, love my small group time. It’s such a great way to connect with my students, check in on understanding, and give them individualized support. When choosing small group activities to help introduce digraphs further, I like to pick things that feel a bit like a game and have a hands-on learning component.
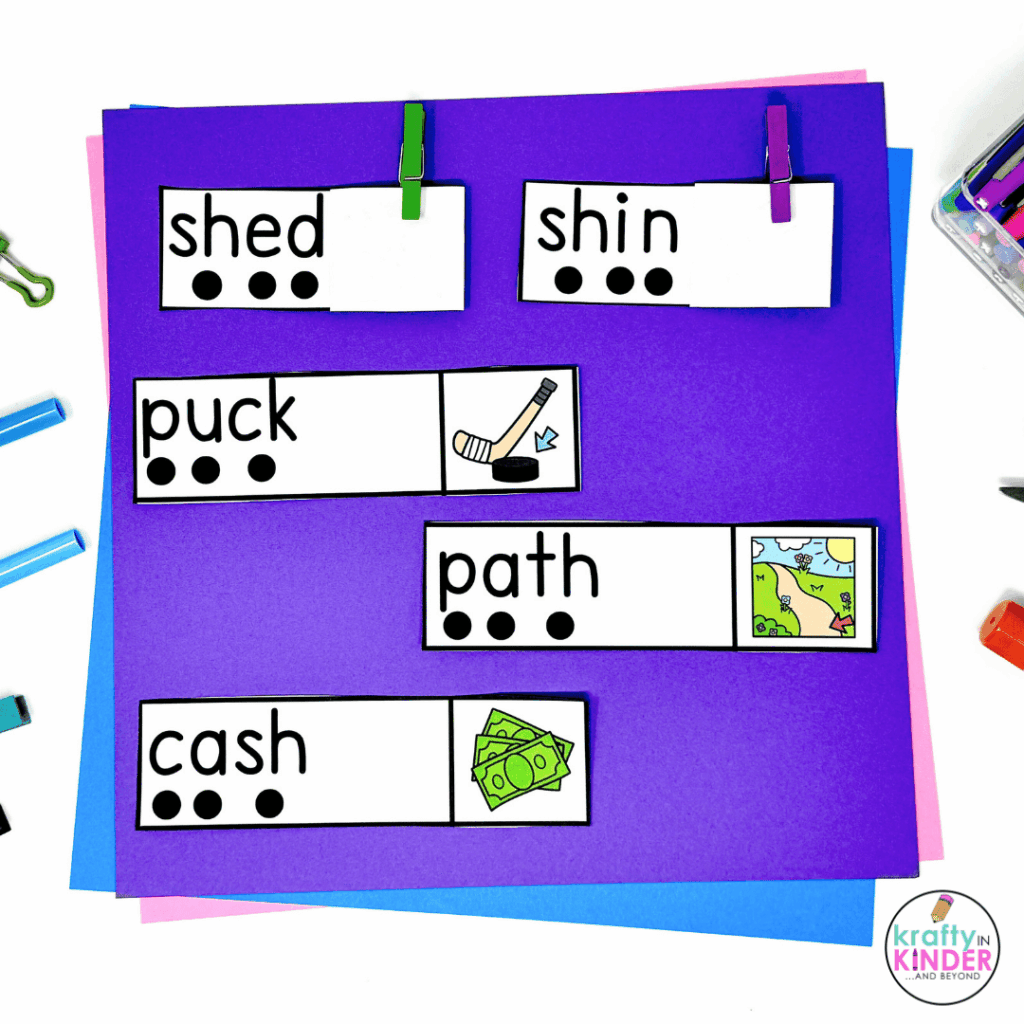
That’s where these Interactive Flip and Read Word Cards come in really handy! The idea behind these is that students will read the word and point to each sound dot as they go to isolate it. Then, they blend the sounds together to say the word. Finally, they unclip the flap and flip it to reveal a picture. This allows them to “check their work”.
All the cards use decodable words with the digraphs sh, th, ch, and ck. I like to introduce these cards in my small groups and teach the students how to use them. Once they get the hang of it, these are perfect for center time too!
Continued Practice

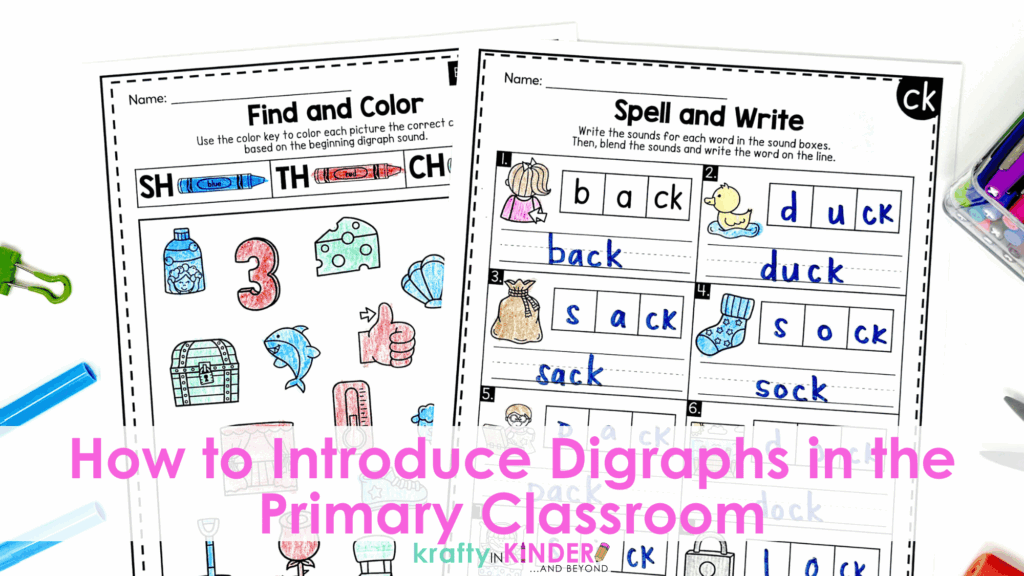
Aside from small group practice, I was also in need of a way to have my students practice independently. That’s exactly why I created No-Prep Digraph Practice Worksheets that include a variety of activities. These no-prep worksheets are simple and easy to use, but incorporate many different ways to practice working with digraphs to keep things interesting. Inside, you’ll find targeted and mixed digraph practice with activity types such as:
- Read, Trace, & Draw
- Blend, Color, & Write
- Fill in the Missing Digraph
- Real vs. Nonsense Words
- Tap, Blend, Match
- Find, Color, & Write
- and more!
Each worksheet is designed for decodable word practice and offers multiple versions for differentiation. I love to sprinkle these into our center time, assign them as homework, and use them for independent work activities. With 68 no-prep pages included for the digraphs sh, th, ch, and ck, you’ll have plenty of options to choose from!
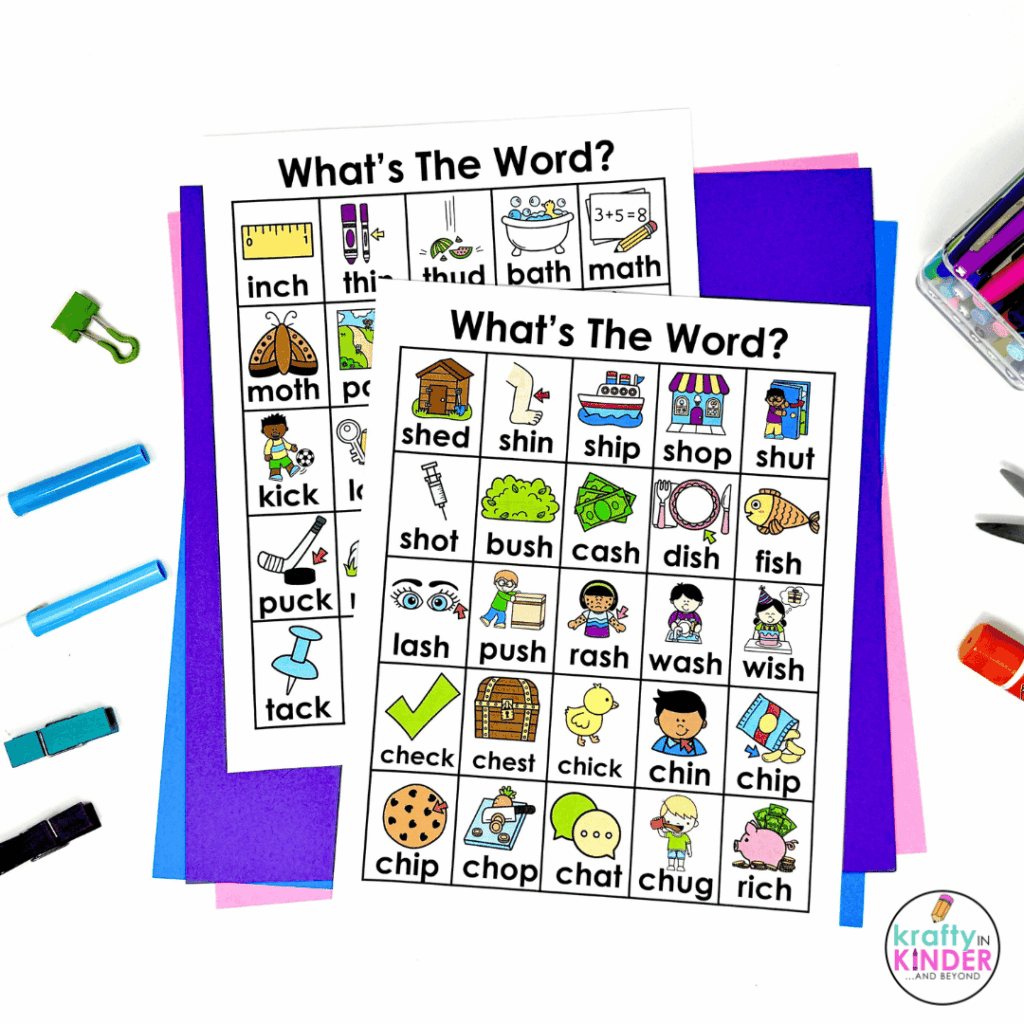
I also included a word bank chart with all of the pictures used in this resource. This means you won’t have to guess what each picture represents. And as a bonus, these work really well for student reference charts, too! You can find the Interactive Flip and Read Word Cards, No-Prep Practice Pages, and the Word Banks all in this resource on TPT. It will make it so much easier to introduce digraphs and continue to practice with them in your classroom!
Reinforce Each Digraph with a Fun Crown Craft

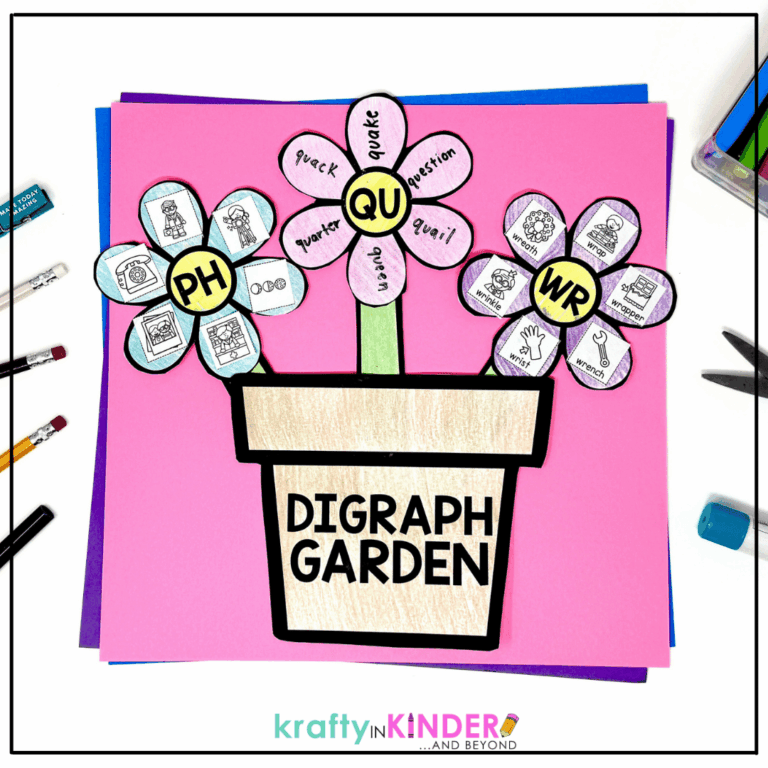
After you introduce digraphs and spend plenty of time practicing with each one, you might be looking for a fun way to wrap up before you move into the next one. Luckily, I’ve got just the thing. . . Digraph Crowns!
I mean, really, what’s more fun than a crown?! Celebrate learning a new digraph with your students by working on crowns as you round out the lesson. These printable phonics crowns are a fun and memorable way to reinforce digraph sounds with pictures and words and provide one more layer of extra practice through drawing and writing. These print-and-go crowns come in 3 different options for simple differentiation. You get:
- SH: beginning and ending sounds
- CH: beginning and ending sounds
- TH: beginning and ending sounds
- CK: ending sounds only
- WH: beginning sounds only
- All “H Brothers” (SH, CH, TH, WH)
They’re great for literacy centers, Fun Friday, or even a mini phonics parade if you’re feeling extra festive! Aside from the fact that they make the perfect wrap-up as you introduce digraphs, they are just plain fun and sure to be a hit in your classroom!
Introduce Digraphs the Easy Way!

I hope this post served as a helpful reference point as you prepare to introduce digraphs in your classroom. As a quick recap, here’s how I introduce digraphs in my room:
- Go slowly and focus on one digraph at a time
- Use anchor charts, multi-sensory materials, and examples
- Practice with hands-on activities in small groups and centers
- Follow up with no-prep, engaging worksheets
- Celebrate learning new digraphs with festive crowns
Easy, right?! Learning new phonics skills, even the tricky ones, can be fun when you’ve got a tried and true method in your arsenal. If you want to make it simple and fun to introduce digraphs in your room, be sure to grab my No-Prep Digraph Practice Worksheets and Digraph Crowns! These resources will streamline your teaching and take the guesswork out of this skill!
Looking for More?
Check out these blog posts next for more tips on teaching phonics:
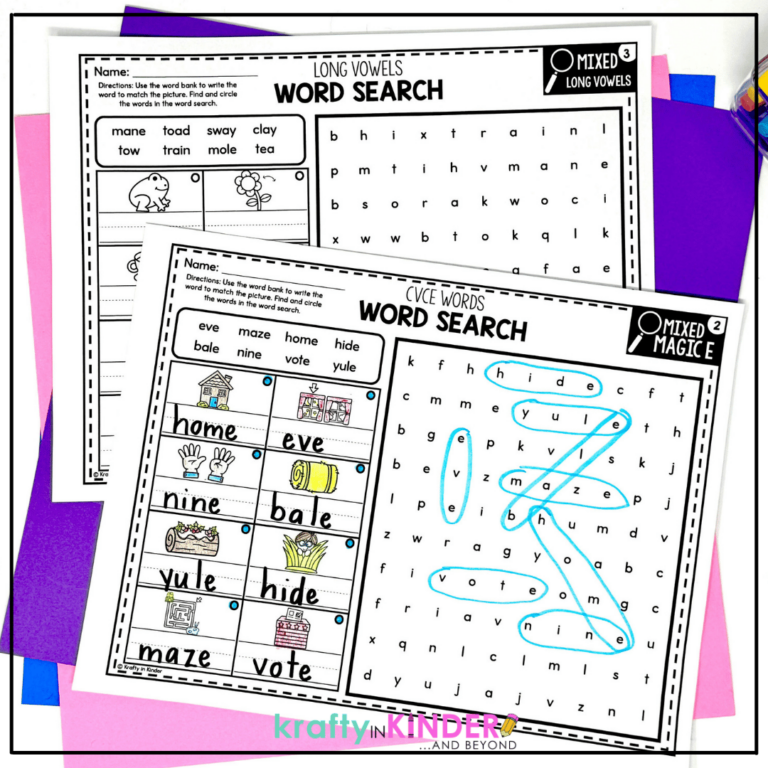
- Using Word Searches to Practice Phonics Skills
- The Best Decodable Texts for Teaching CVCE Word Patterns
Save This Post
Make sure to pin this post on Pinterest so that you can easily reference it!


One Comment
Comments are closed.